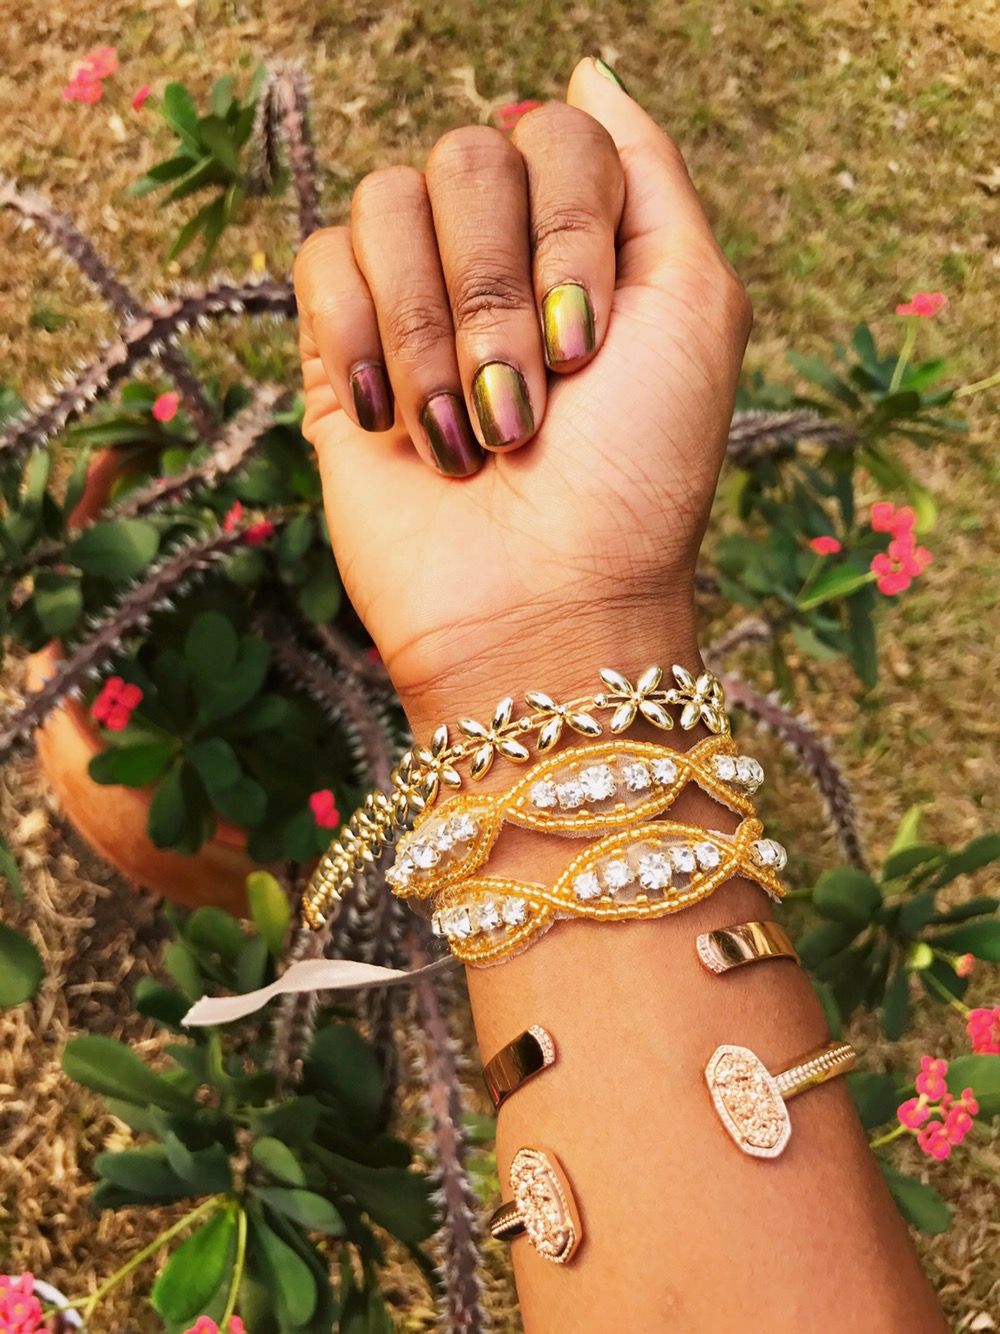
This chrome style got popular so quick and it seemed every nail salon was doing this style. I took myself to the salon to get these chrome gel nails done because I had to have them! -which is big because I rarely go to the salon. I do my nails myself because I love doing designs and I always seem to see imperfections. I read up on the do-it-yourself and got the supplies. This style is usually done with gel polish, so I knew it would take a few steps.
After a few attempts I can finally say, I’ve gotten the style down. Here are a few easy steps!
Supplies:
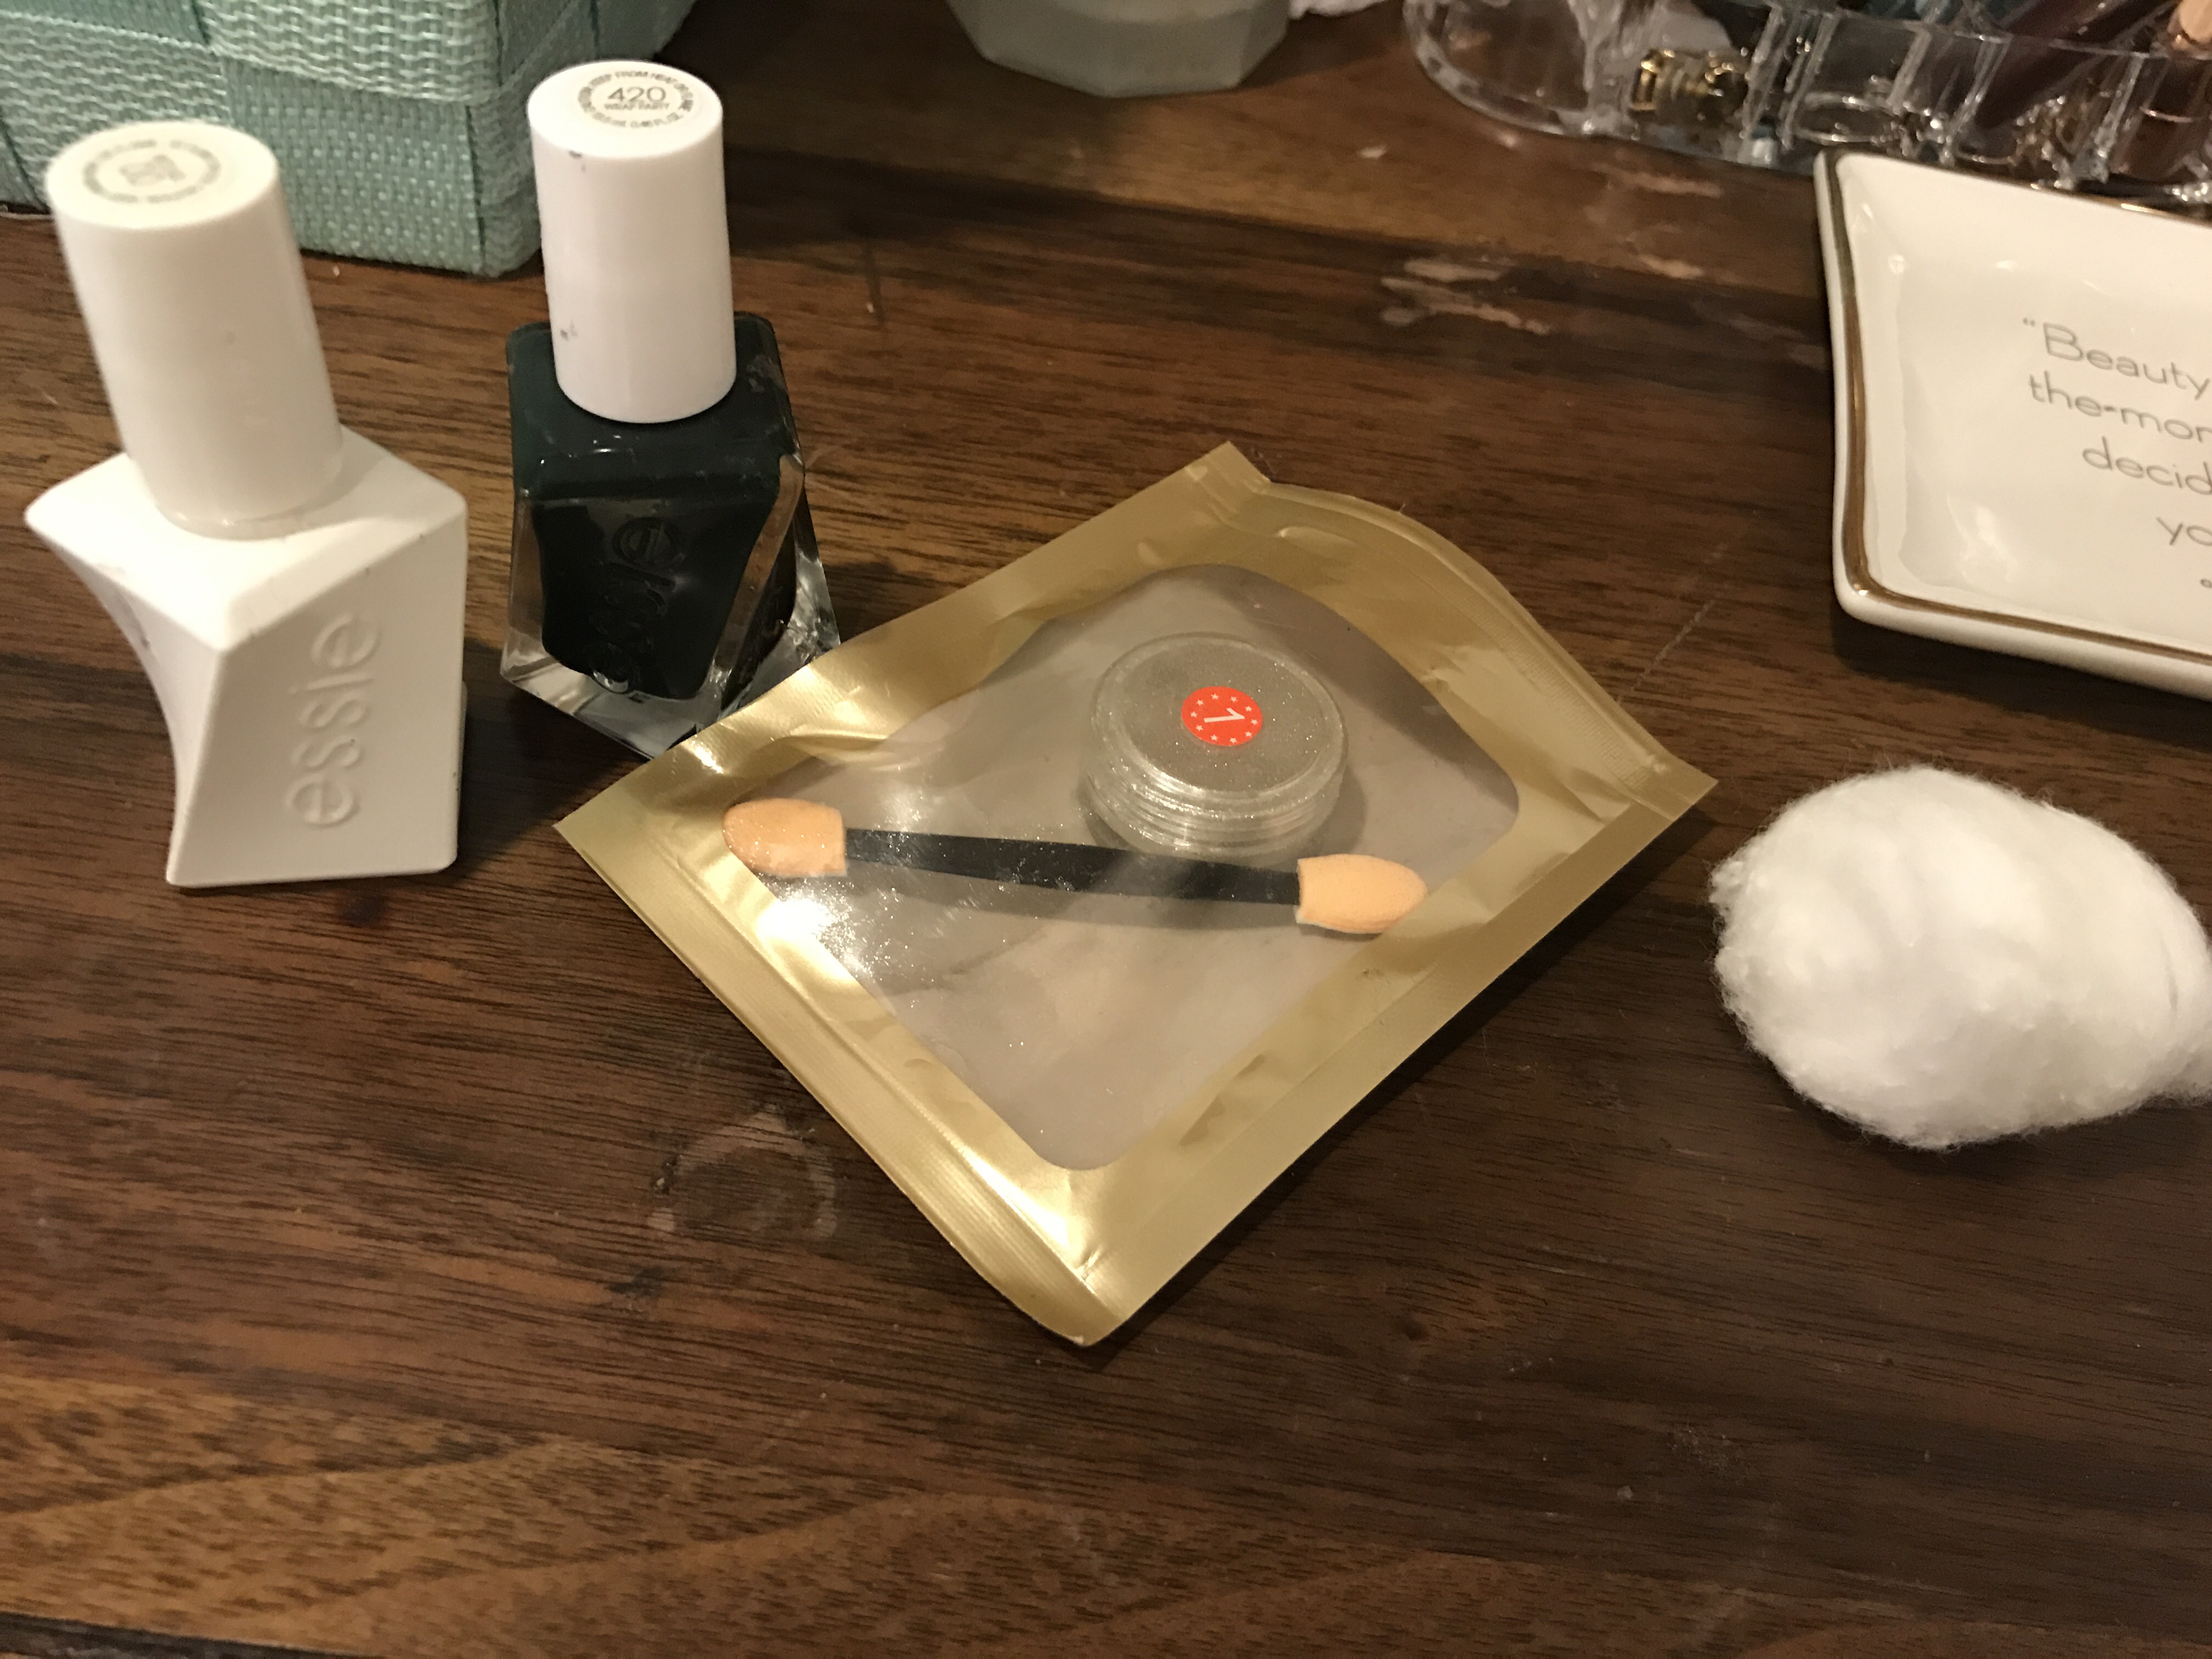
chrome powder, you can get this from amazon, either individual ones or packages of different shades.
gel or gel-like polish, I used the Essie Gel Couture , no uv light gel-like line in “Wrap Party”. I used this dark green because it was the darkest shade available at Duane Reade. It’s a 2 step process and about $12, but the polish lasts longer than the regular line. The powder doesn’t work with regular polish! – I had a failed attempt… After seeing all the steps needed to do real gel polish and the UV light, i realized that wasn’t a good idea to be trying at home. Lol
Some cotton balls
Paper plate and plastic bag, the lose glitter particulars need to be contained!
Base coat and top coat, I use Sally Hansen brand. The top coat is quick dry. It says 60 seconds, it’s definitely not that quick, but it’s quick. -Ain’t nobody got time to be waiting on nails to dry!
Steps:
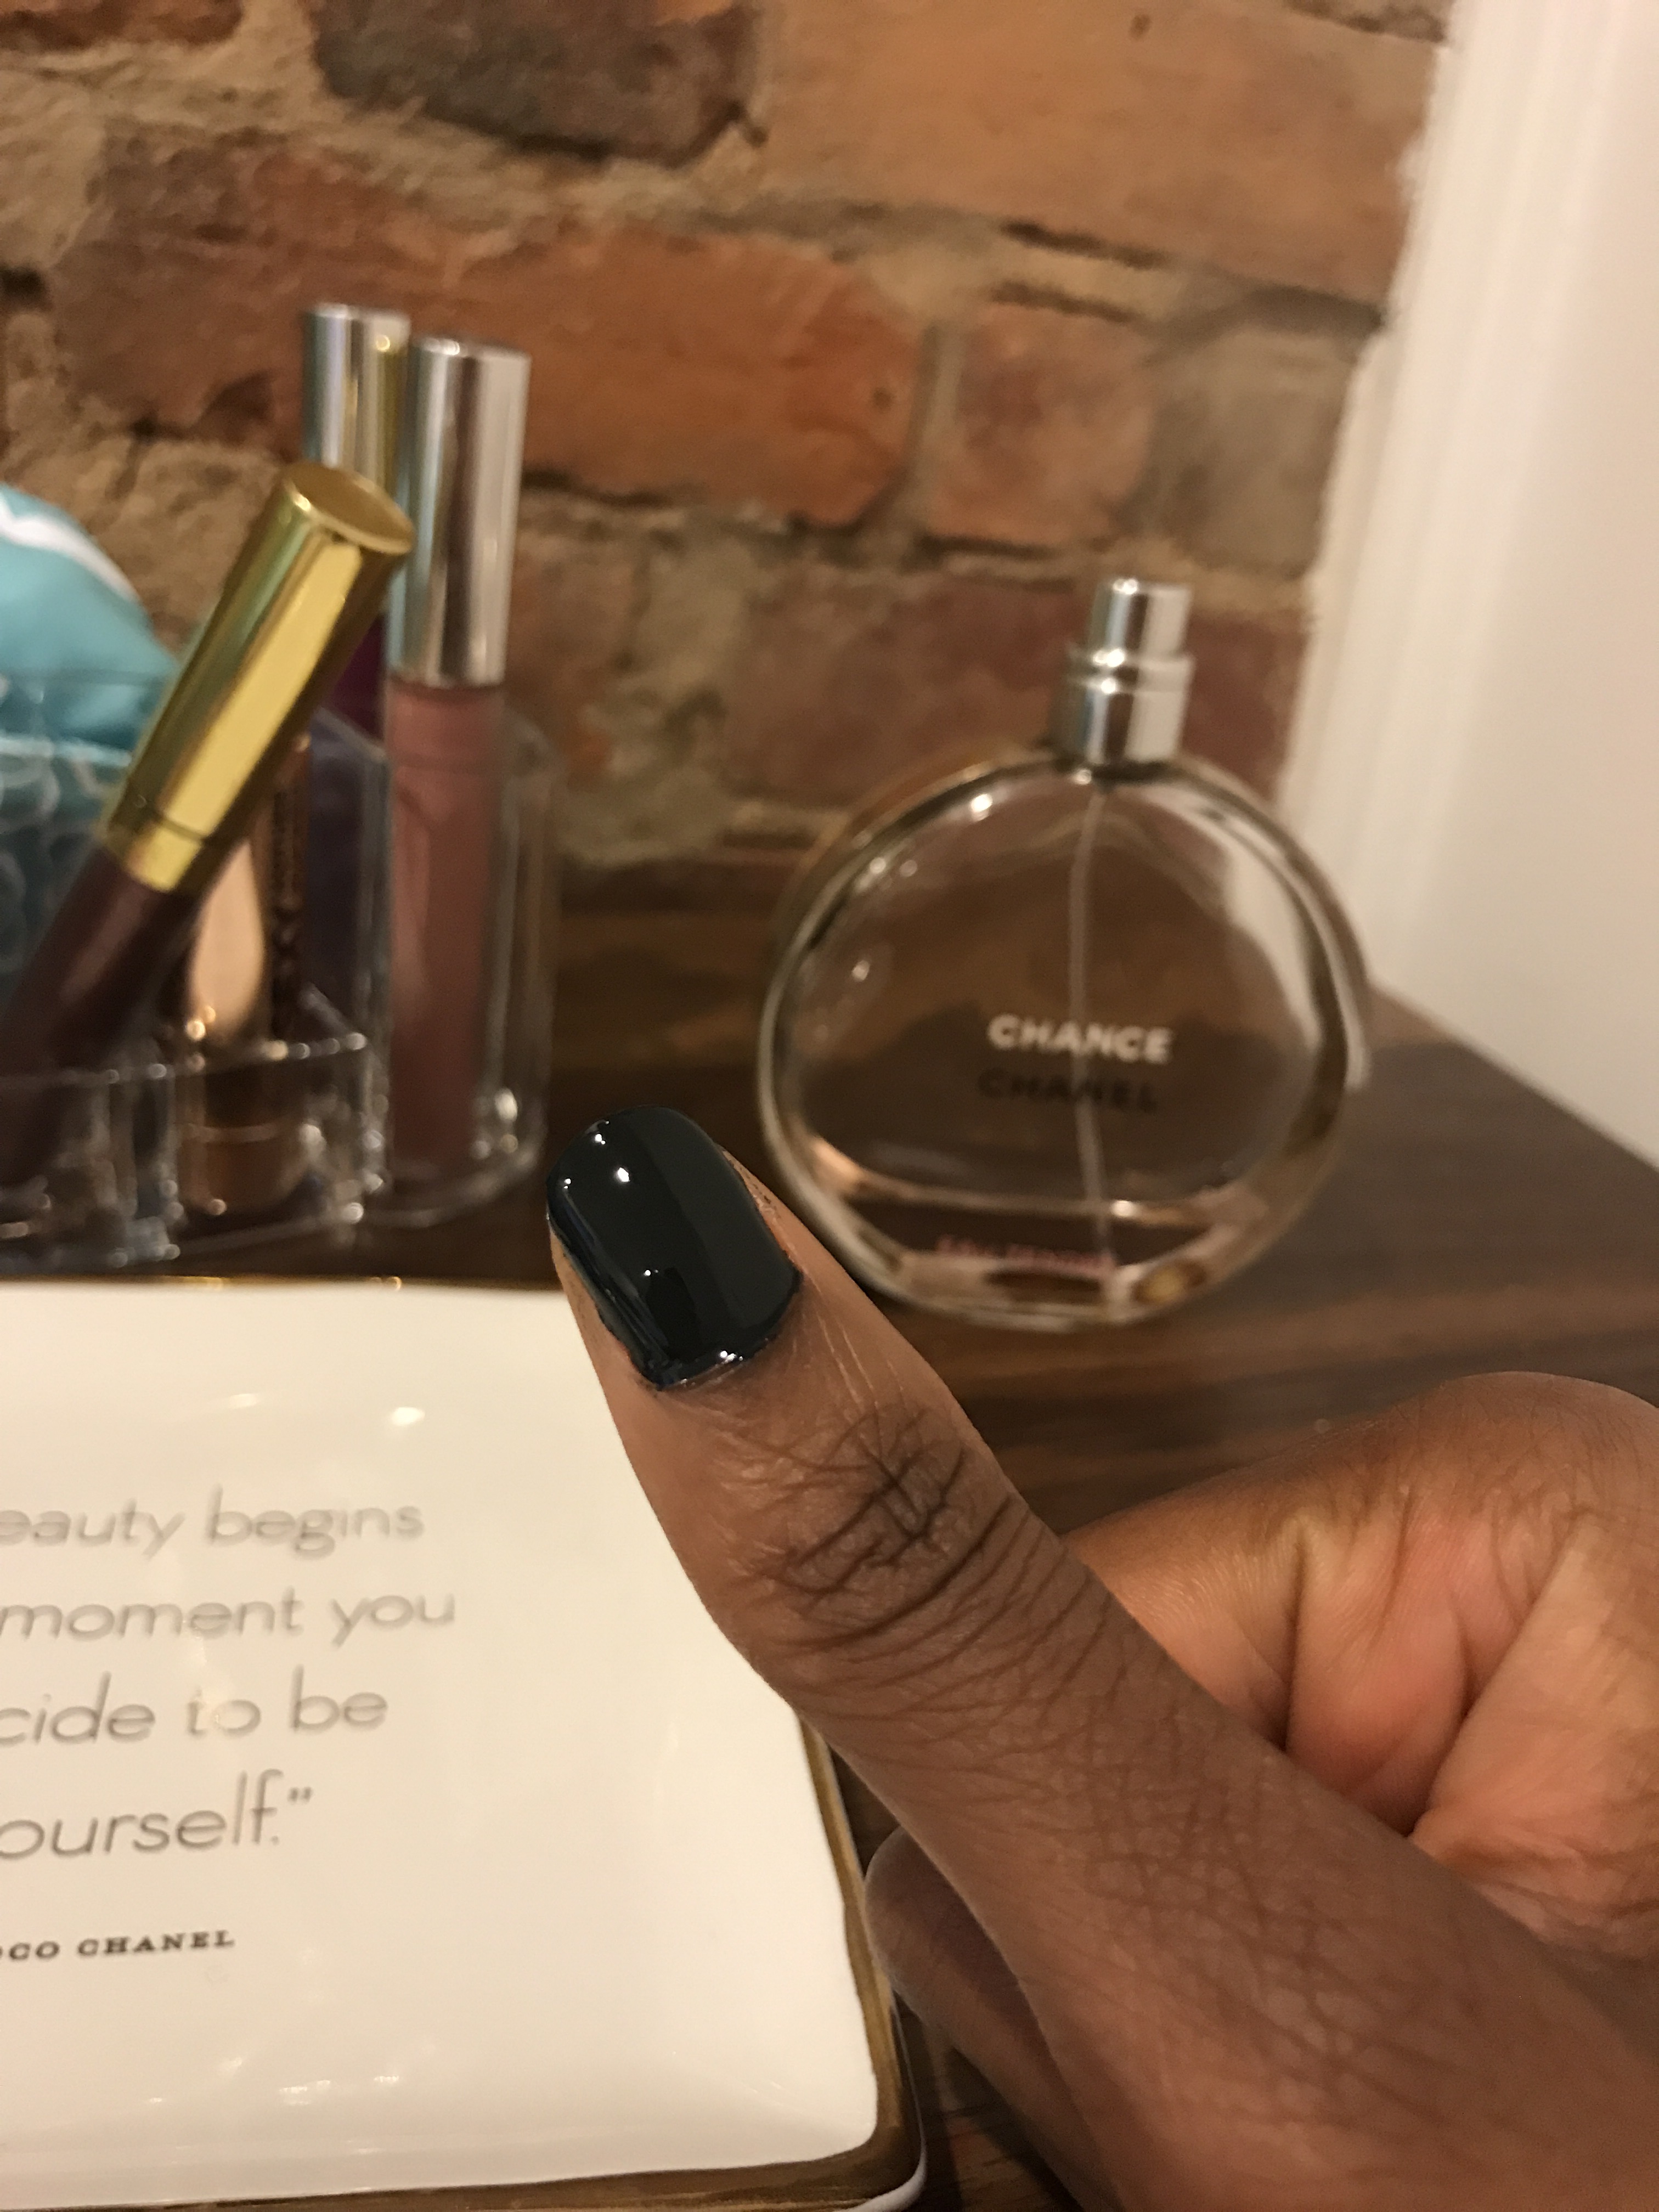
- Use a base coat and then apply gel-like polish, the base shade that you use affects the dark/lightness of the chrome. I used the dark green shade, Wrap Party by Essie Gel Couture. Black is usually used. Alternatively white can be used. Different base colors will change the chrome effect.
2. Let the polish dry for a couple of minutes. You can apply the Essie top coat and let it dry for a couple more minutes.
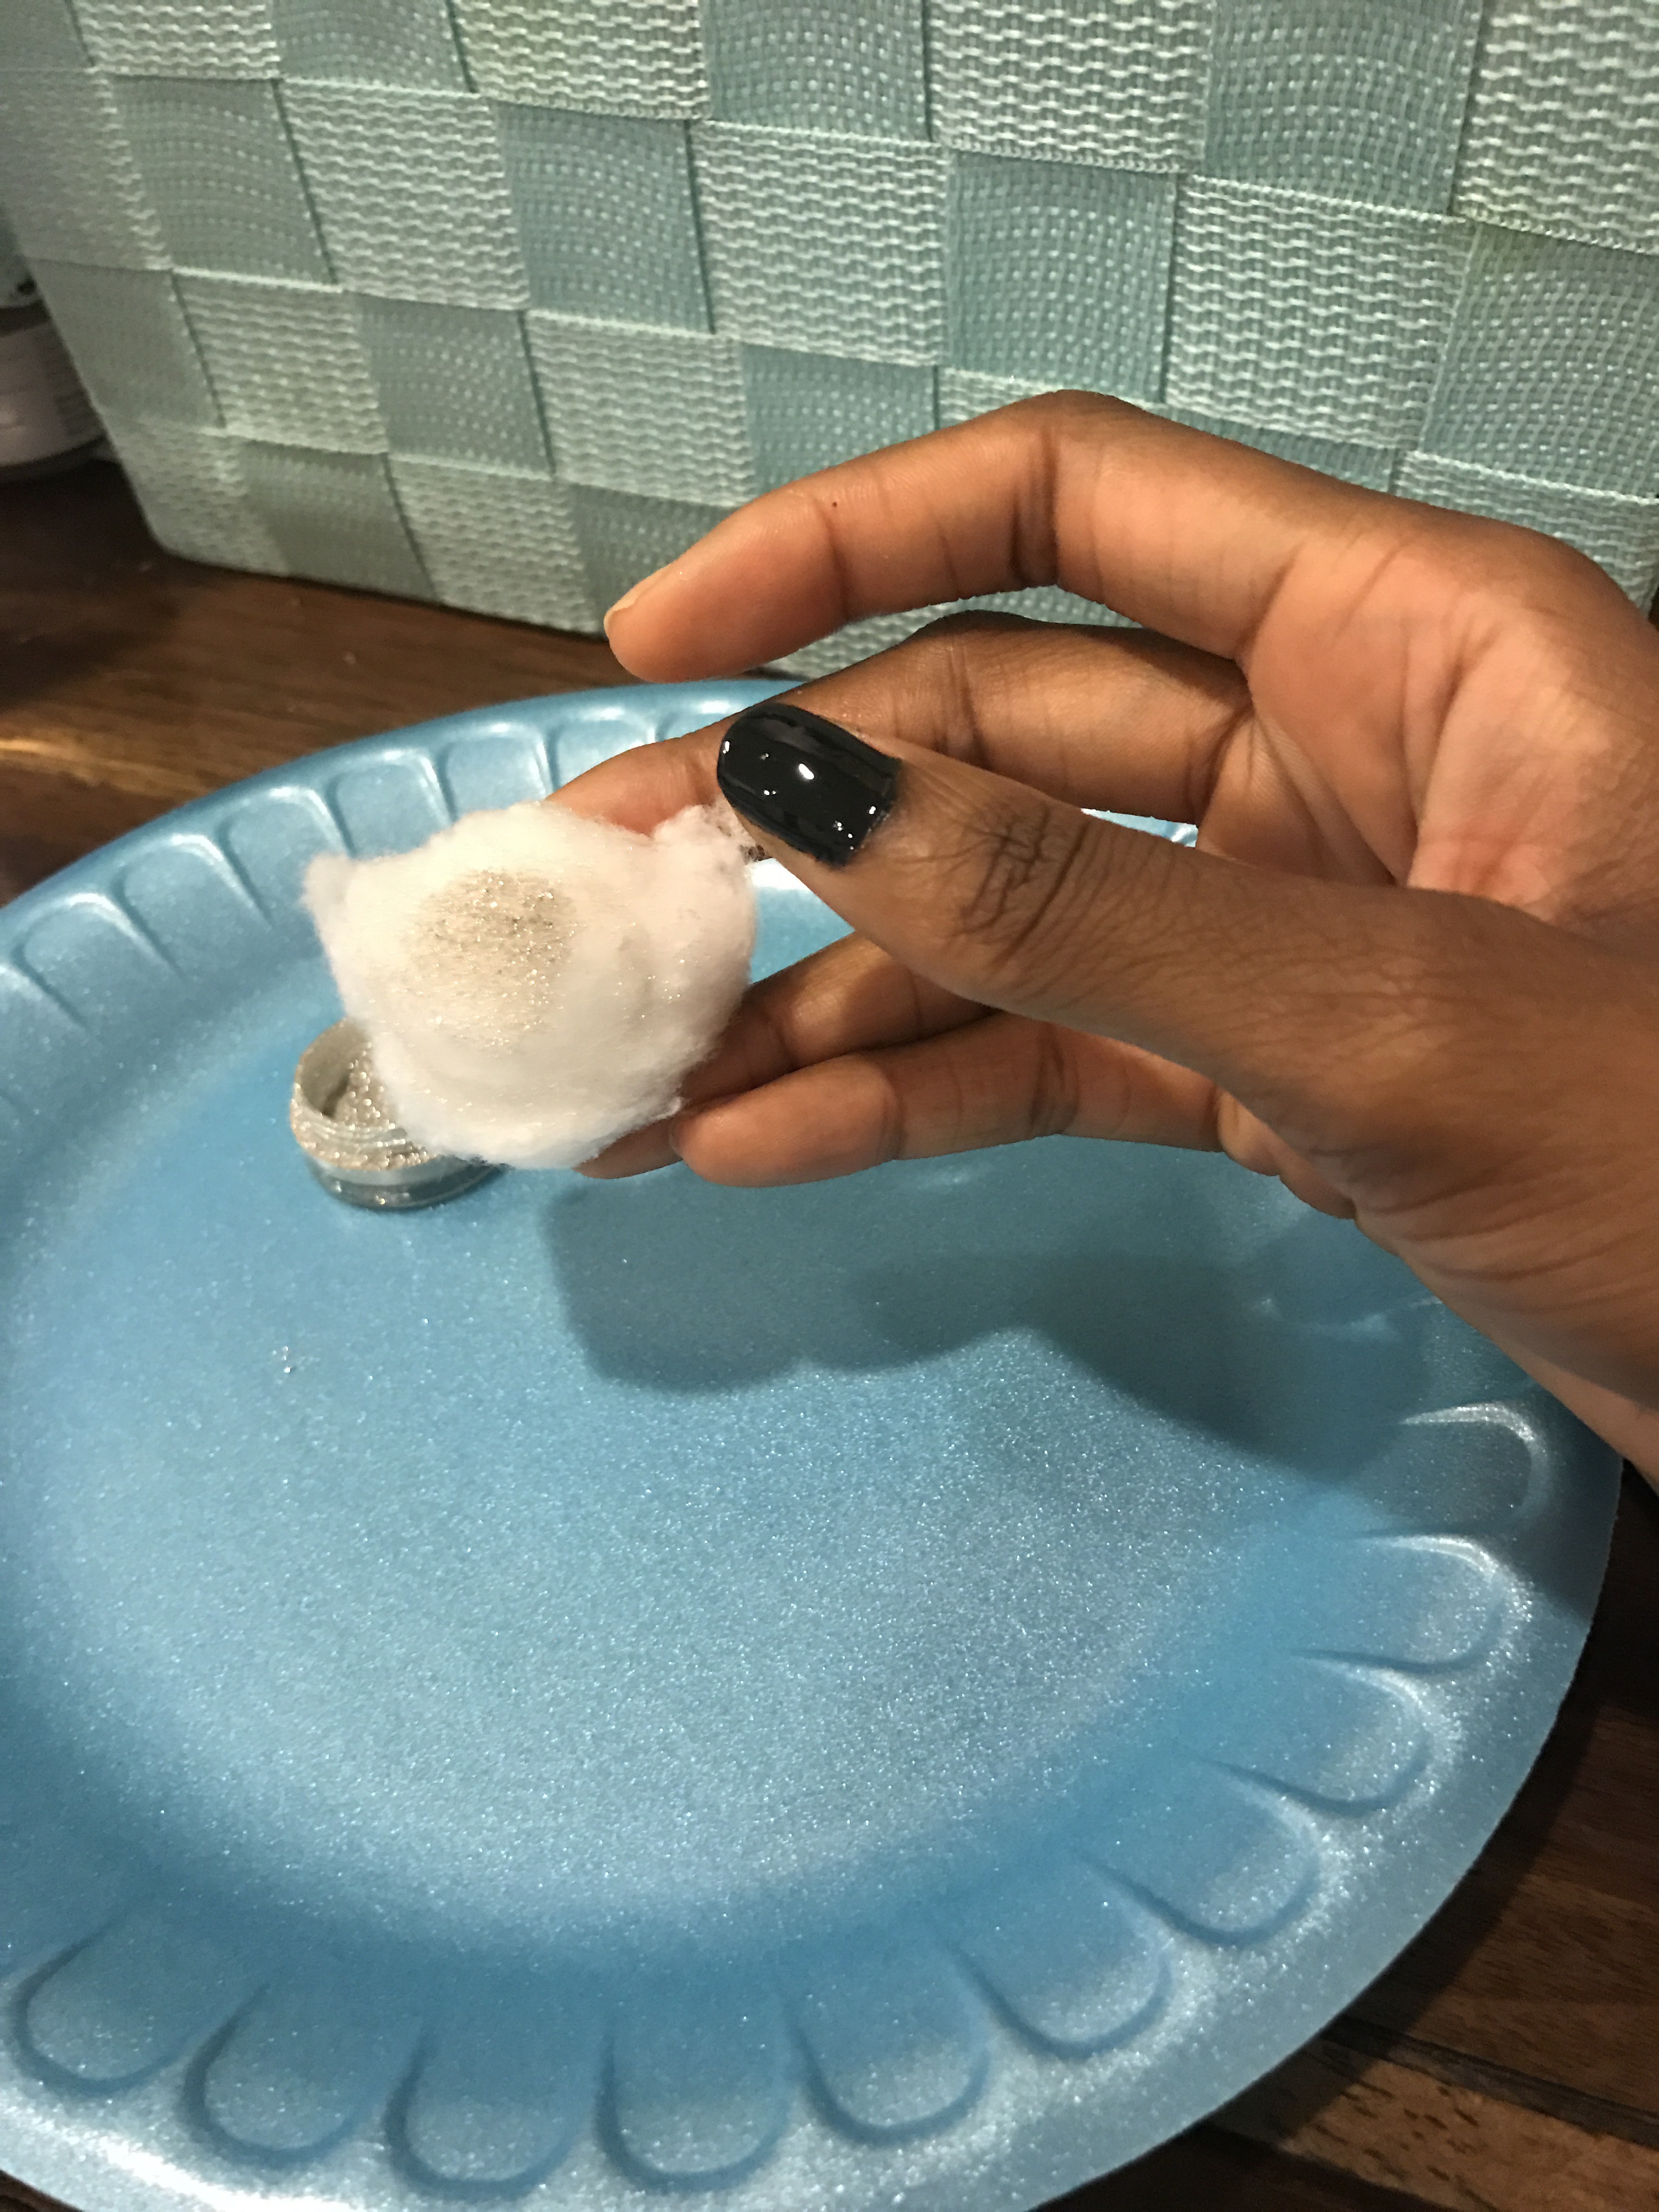
3. Using a cotton ball, dip it into the powder and then rub it onto the nail. As you rub the chrome effect will start taking place. It works like magic!
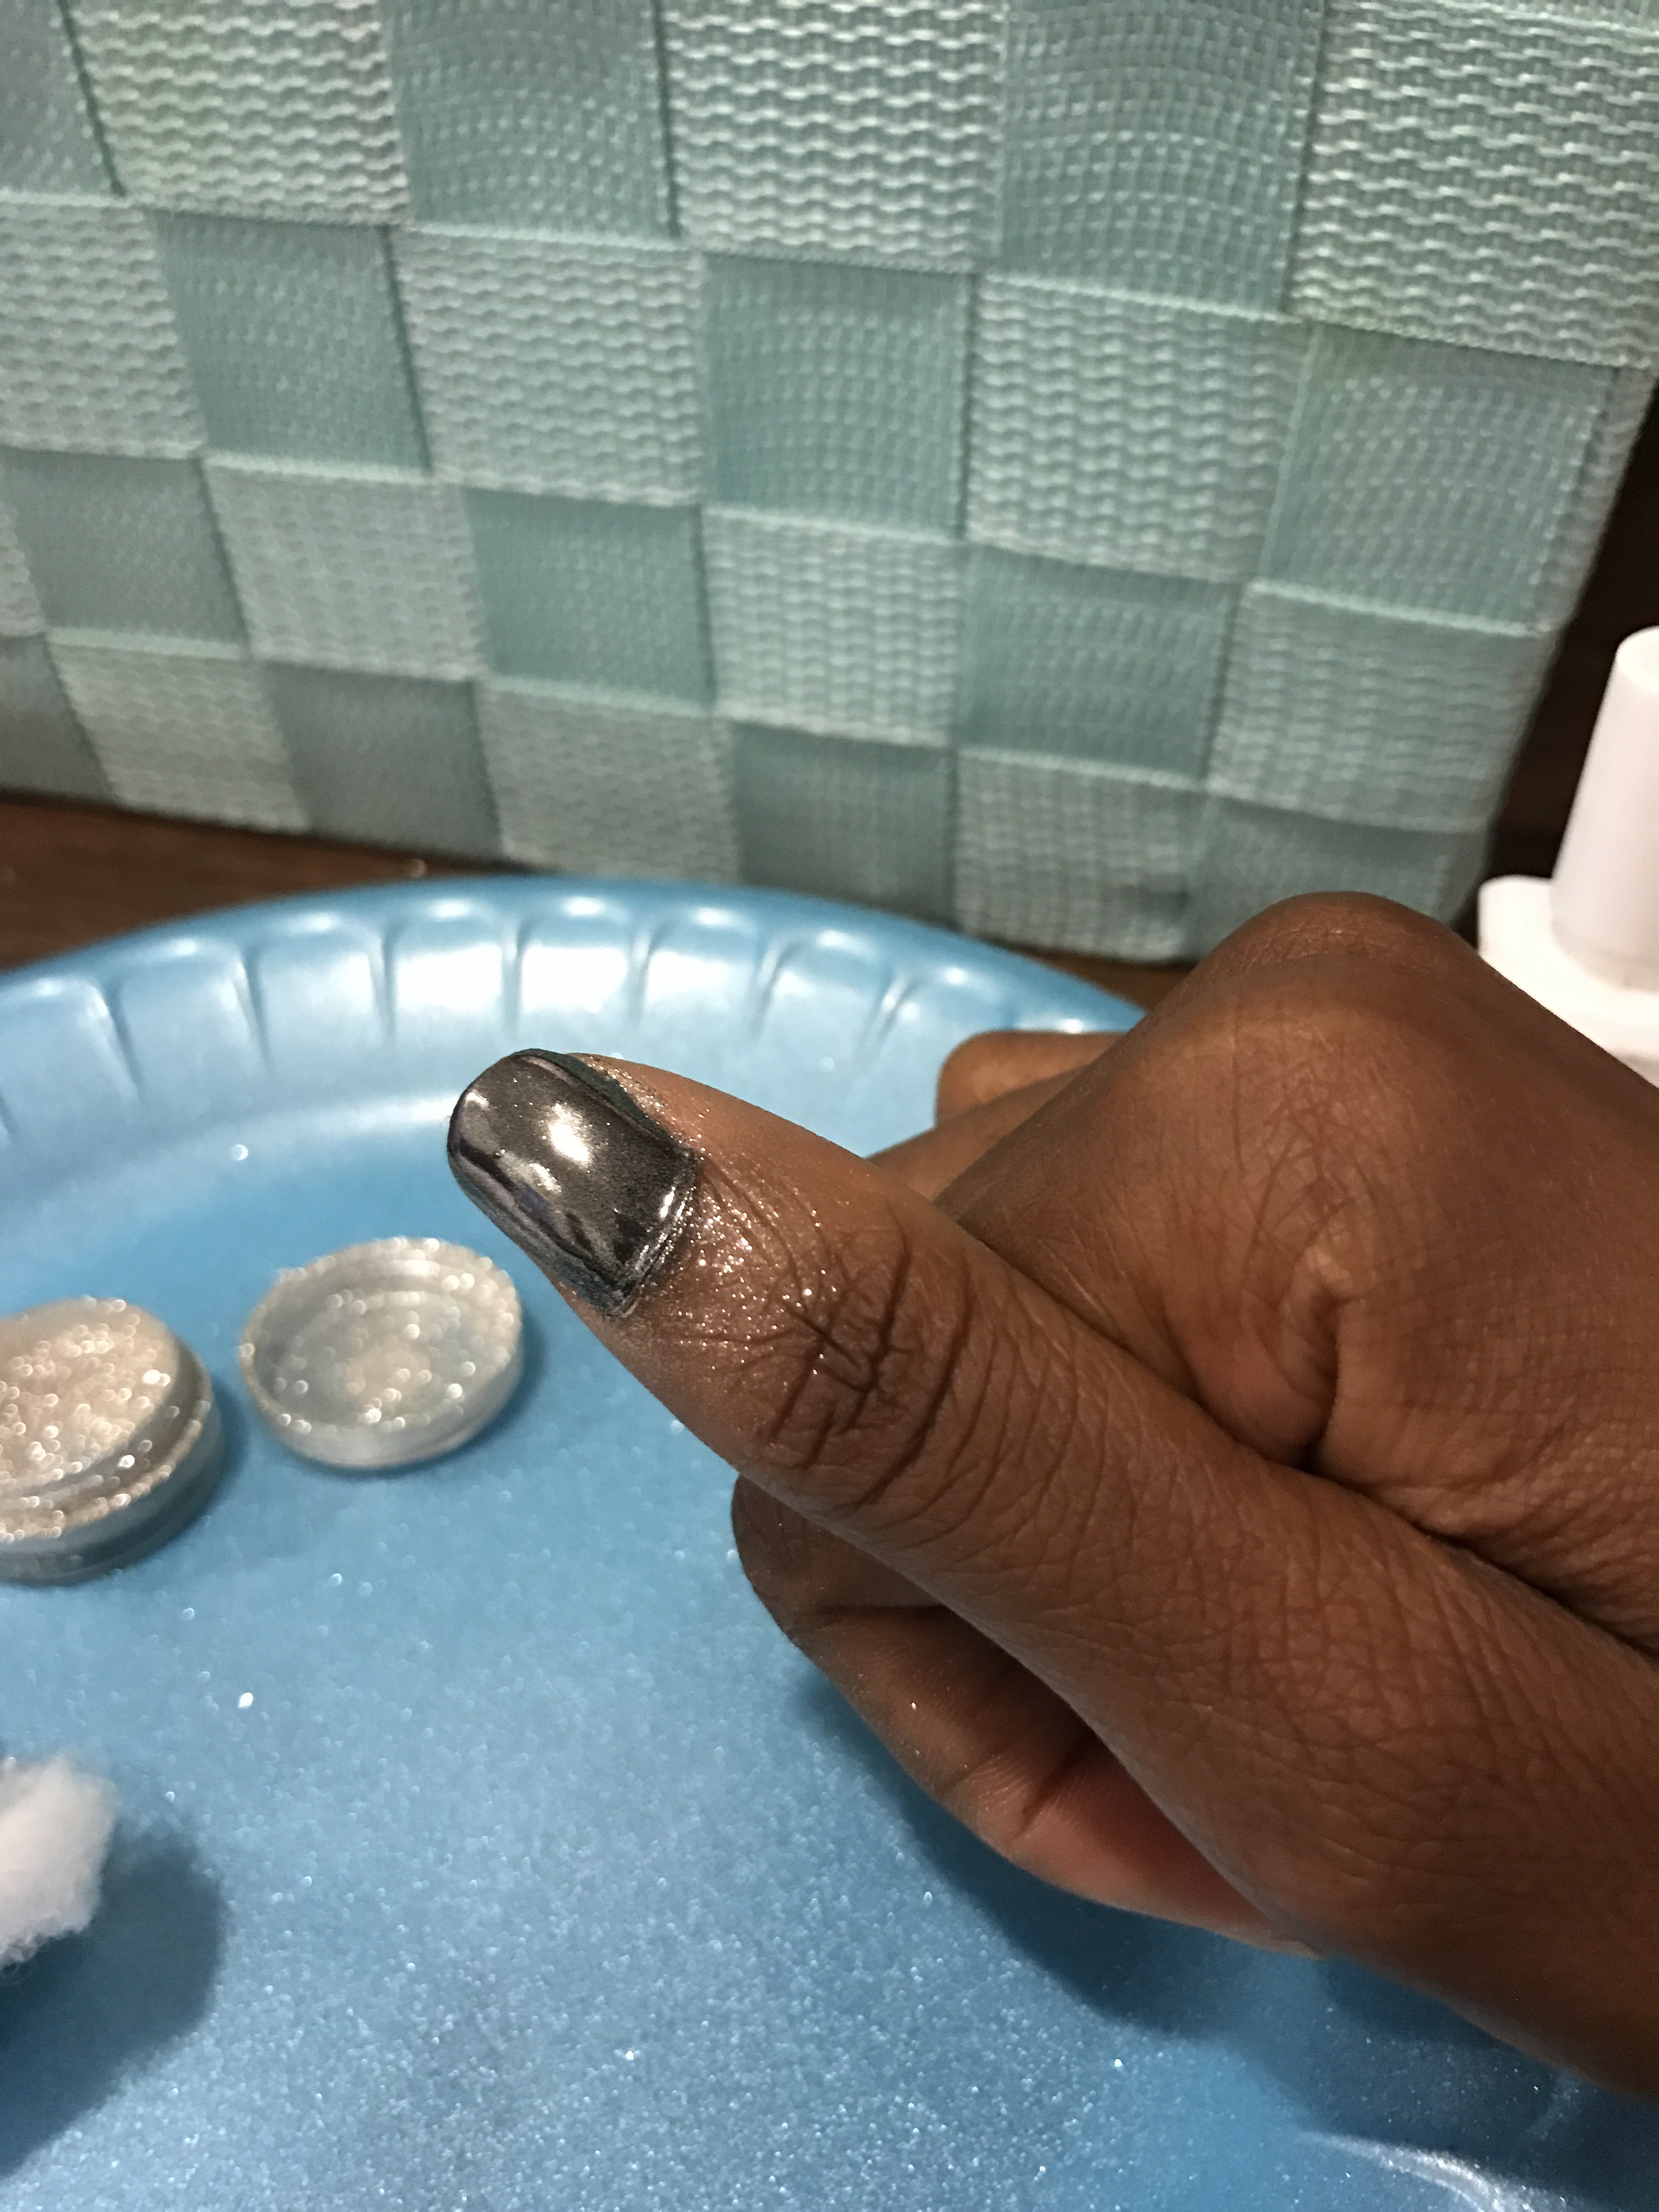
4. Let the nails sit with the chrome for a bit. Then apply the top coat. If you apply the top coat too soon, the nails will lose the shininess of the chrome. Be sure to wash your hands and gather the work station without making a mess. You don’t want the glitter getting all over their stuff or clothes
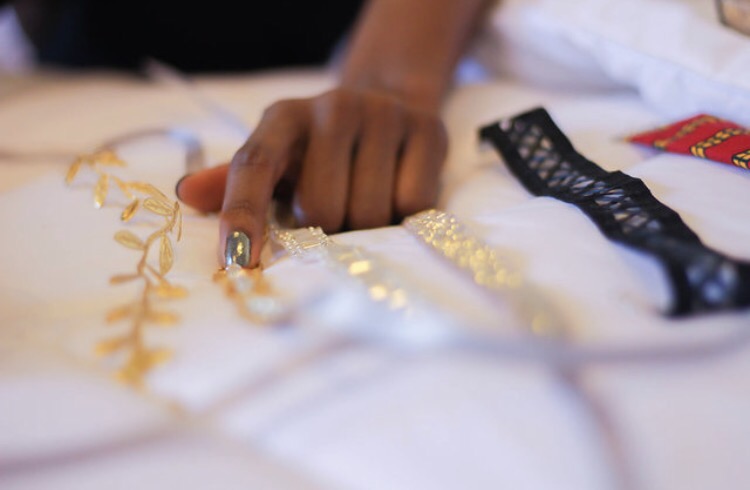
5. Voilà hot nails for the low low.
I love the feeling of accomplishing a DIY, it may take a couple applications, but these nails come out bomb! They also last a bit of time because of the Essie gel base. – And it’s way cheaper than getting them done in the salon. While the salons will probably be more luminous, because they use real gel and are professionals lol, they could run almost $50, but with this $20-$30 investment you can have fly nails times over!
EASIER ONE-STEP 2nd OPTION: If doing all the steps and time spent ain’t your thing, you can buy INLP polish. These are super high quality polishes that come in chrome and metallic/rainbow shades. It’s a regular nail polish. Best part is these polishes are nontoxic. Due to Painted Pink, my millennial breast cancer awareness nonprofit, I’m all about checking labels and using clean beauty products- nail polish included. This polish will have you with salon quality nails from the $10-12 bottles.