
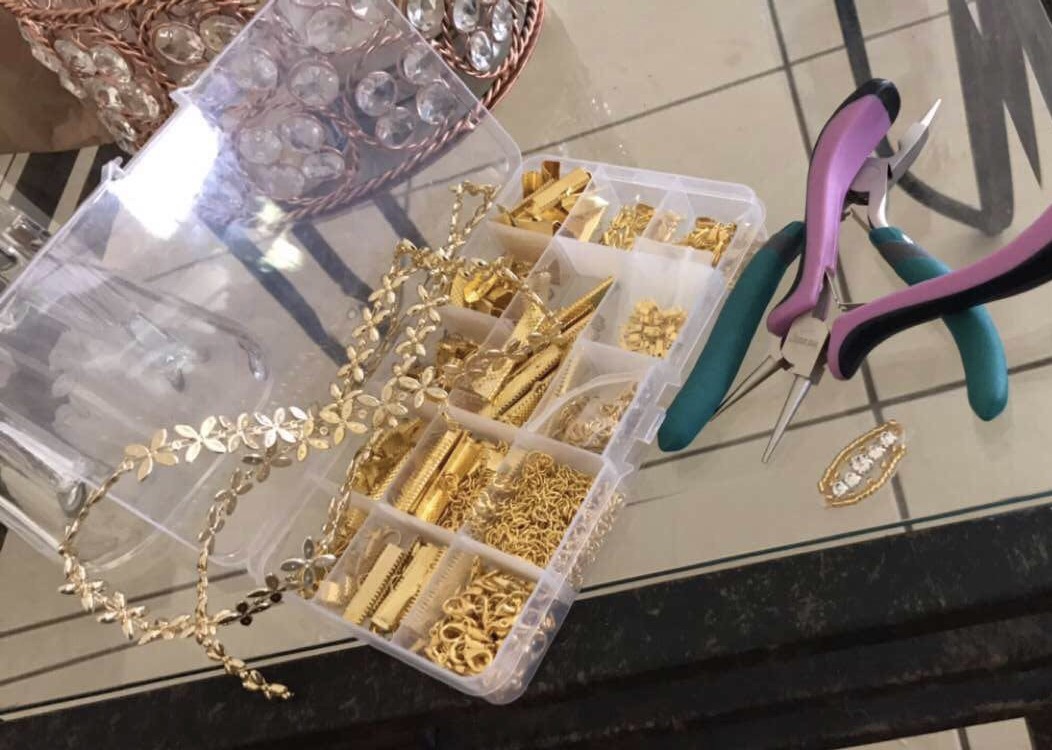
As you know, I love a good DIY and as chokers became the “in” thing, I wanted to start making some. Here are simple steps for how I made my first choker. I now have quite a few styles on my etsy. You need a pair of jewelry pliers, a ribbon or trimming, ribbon clamps (the endings), a tape measure, and jewelry rings and a closure. It is a lot easier than I anticipated and takes just a couple of minutes.
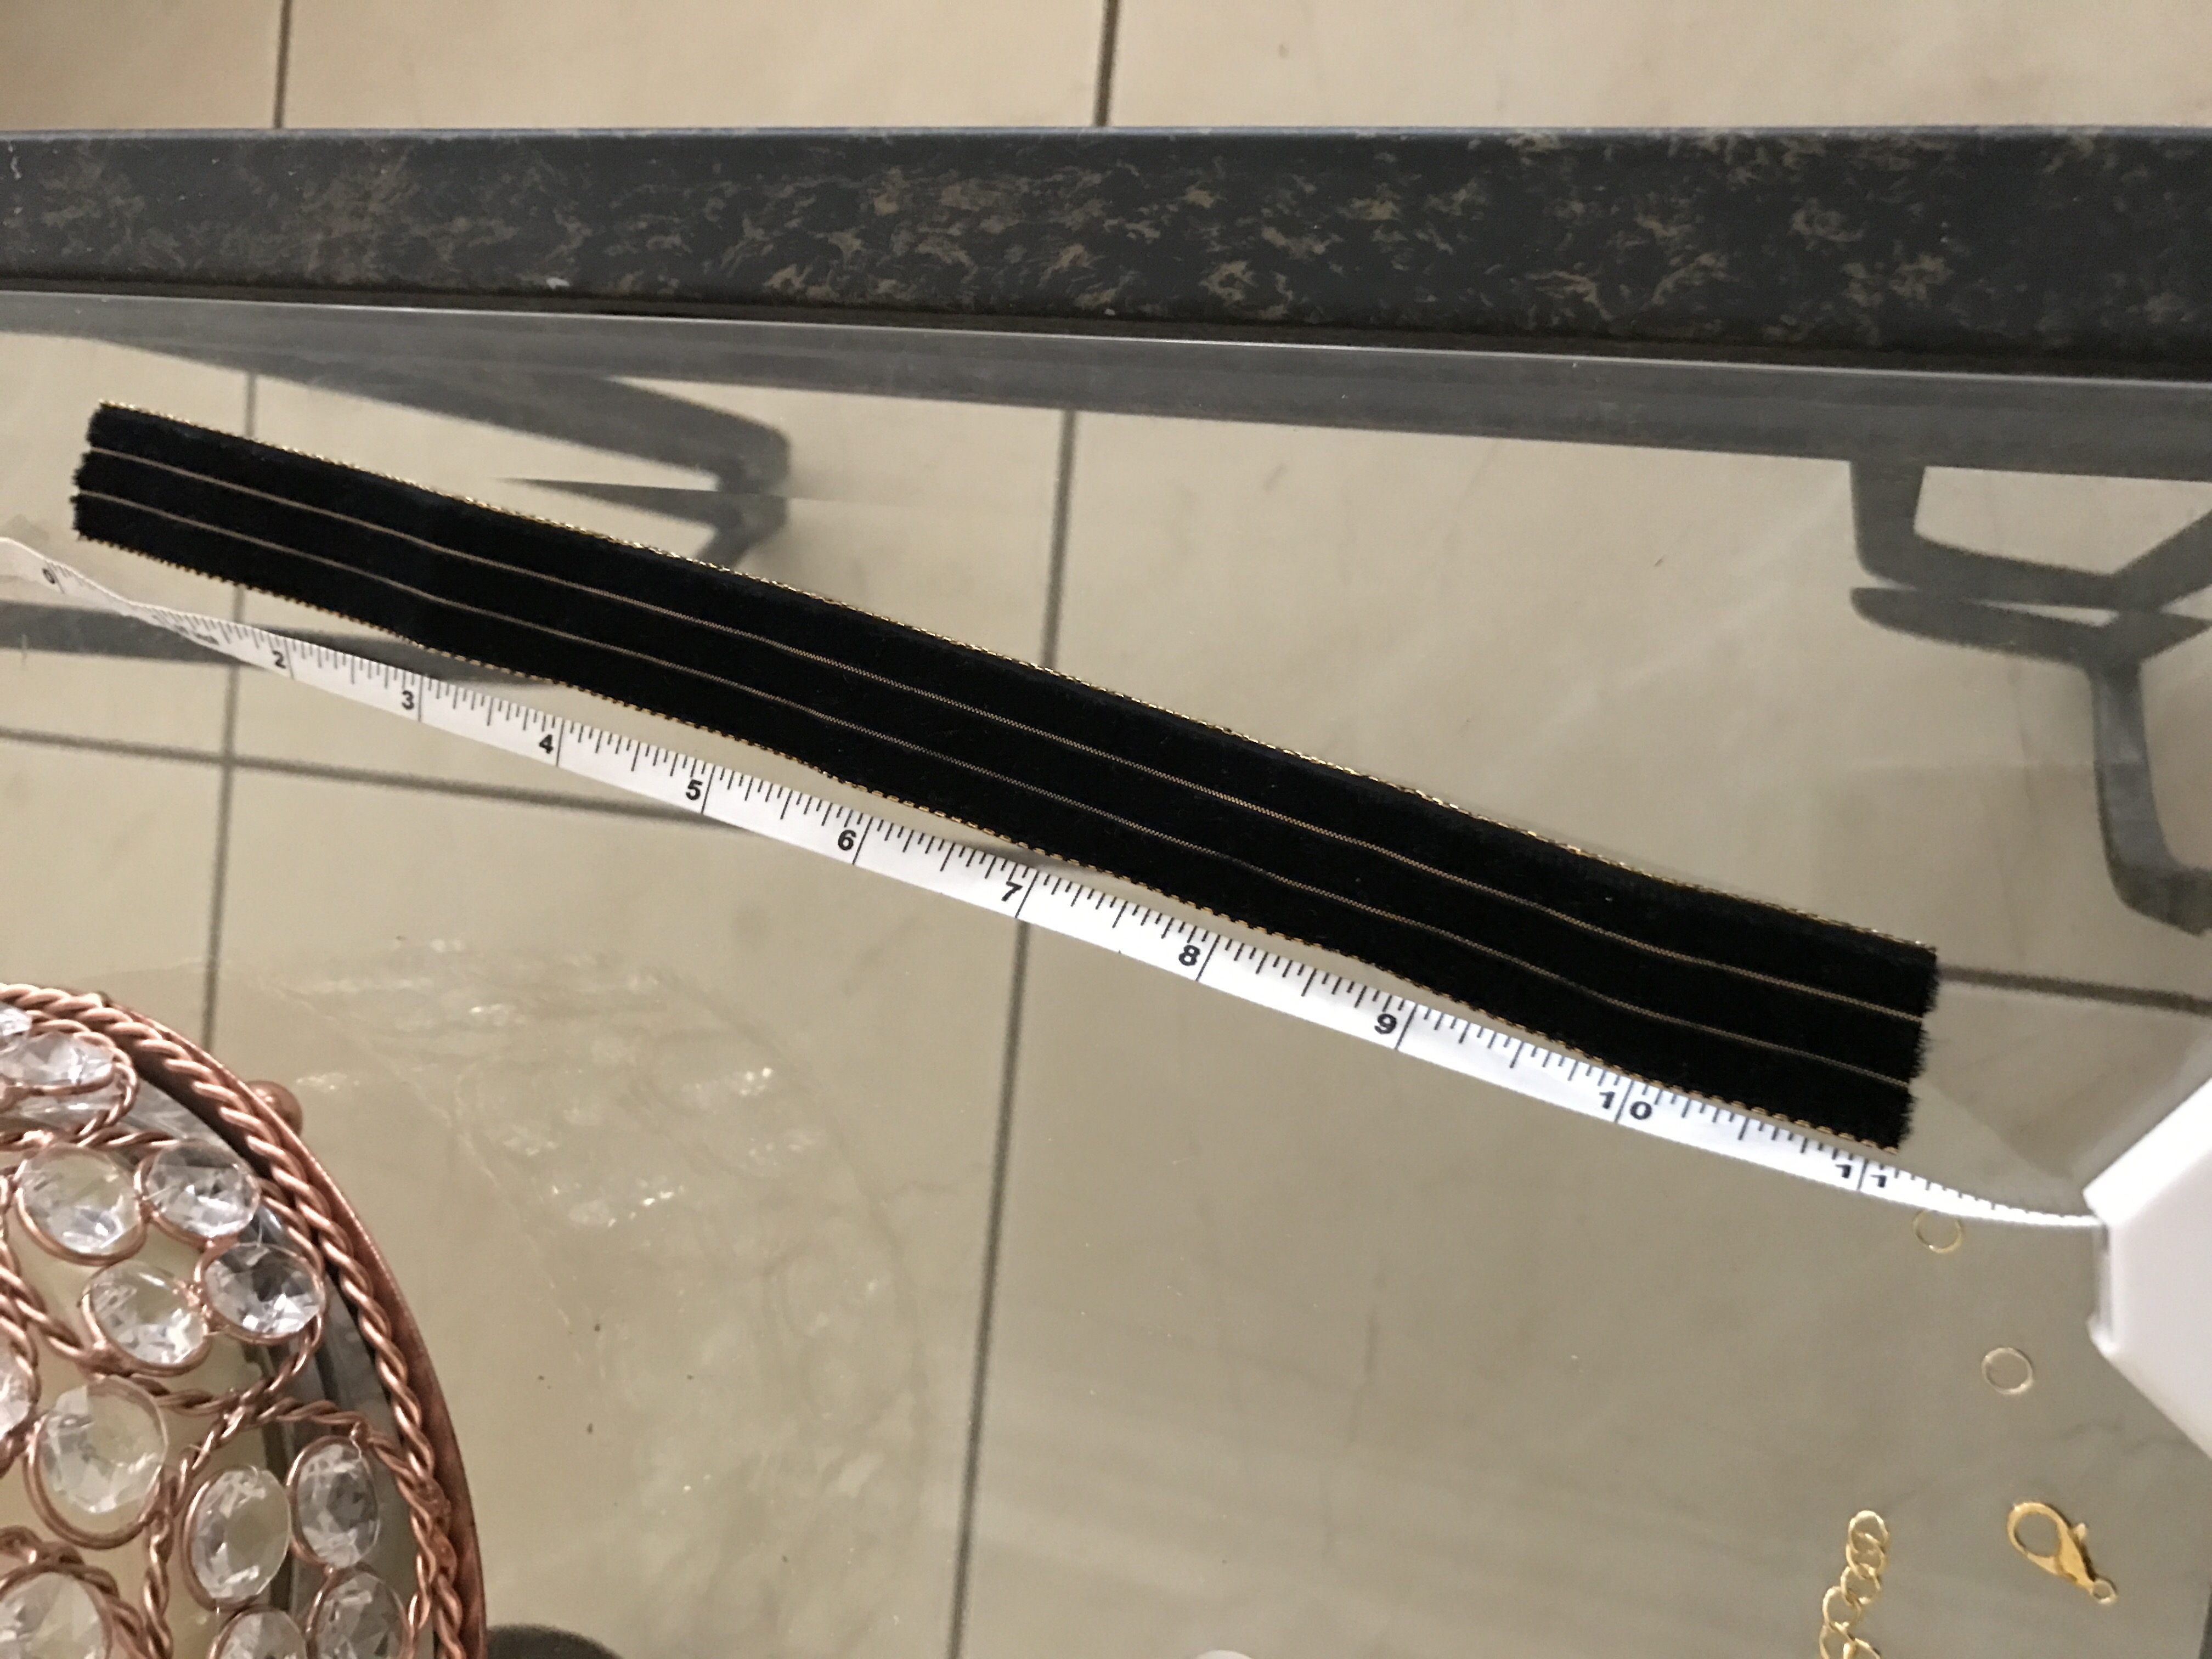 First measure your neck size, by wrapping ribbon around your neck. Alternatively, can make it the average size about 12″ and add an extra step, an extender chain which adds a couple inches. Most chokers fit 12-15″ with an extender.
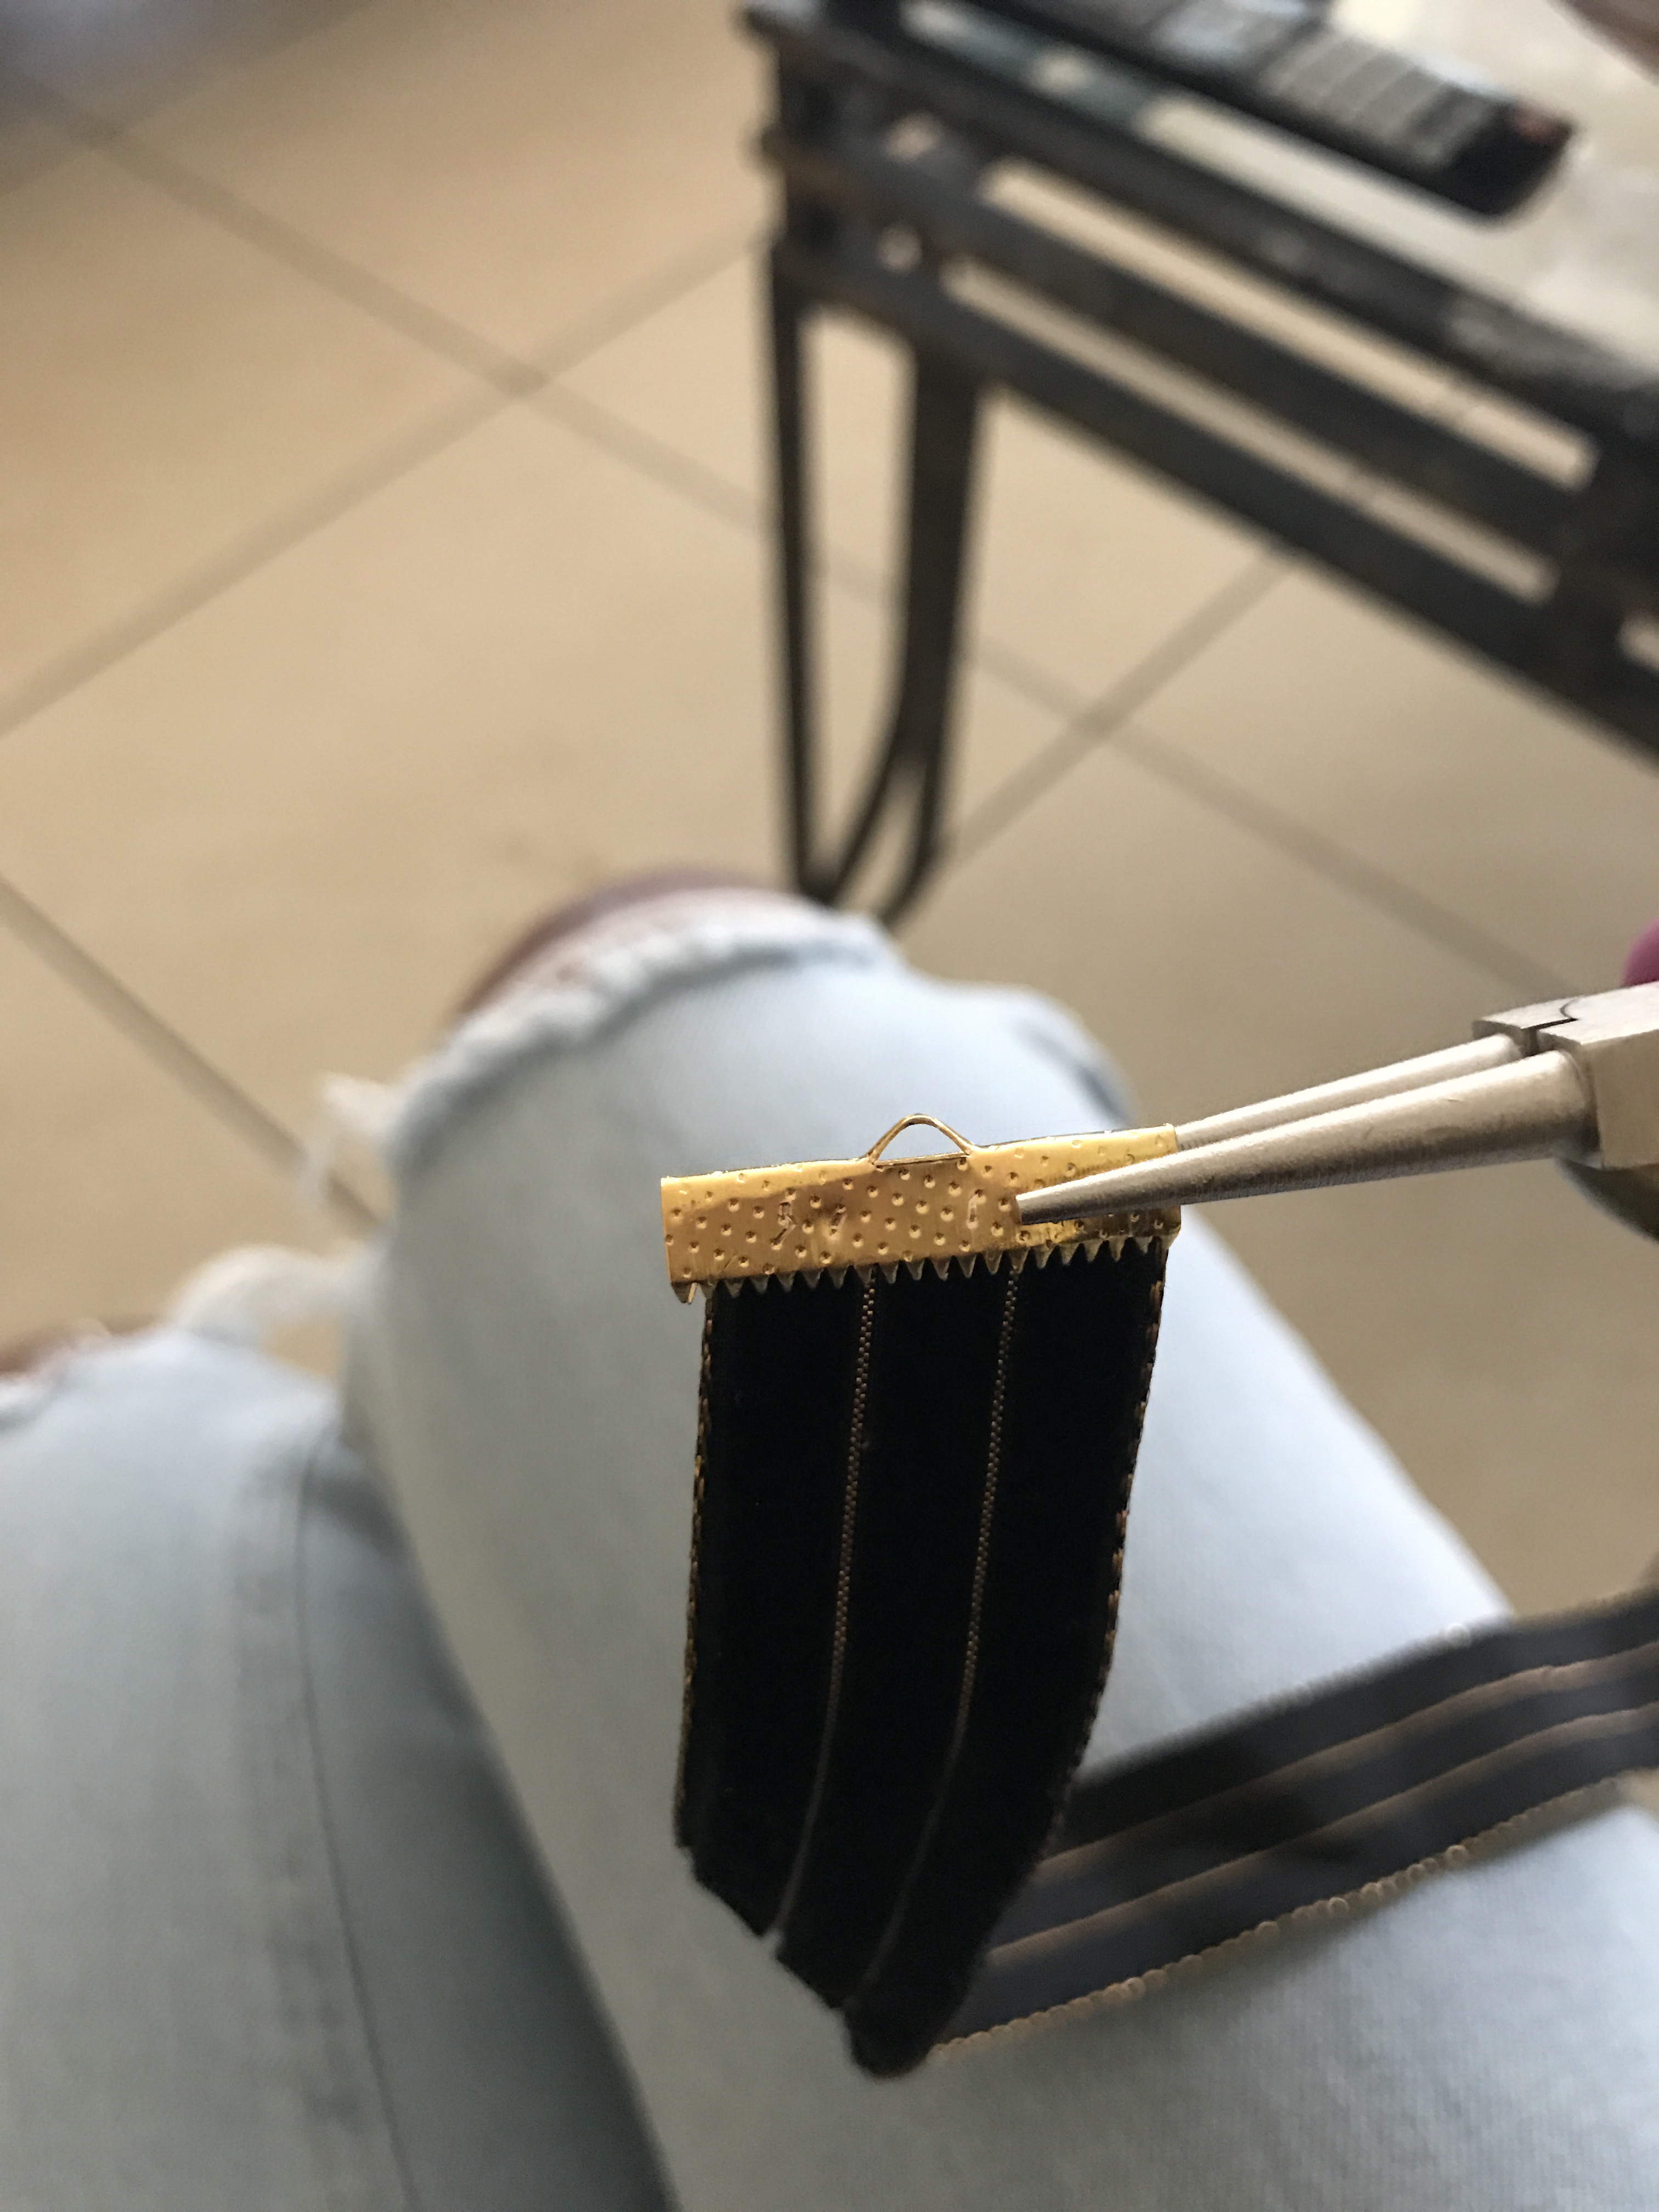
First, measure the trimming 11-11.5″ and cut it. Be sure to cut it straight. Take one of the endings and put it on the end. Use the pliers to clamp it down in place. Do it slowly to make sure that you’re clamping it down centered. Do the same on the other side.

Next, take a ring and open it a little with the pliers. Put on the jewelry closure and then hook it onto the little hook of the ribbon clamp. Tighten it with the pliers and double check that its secure.

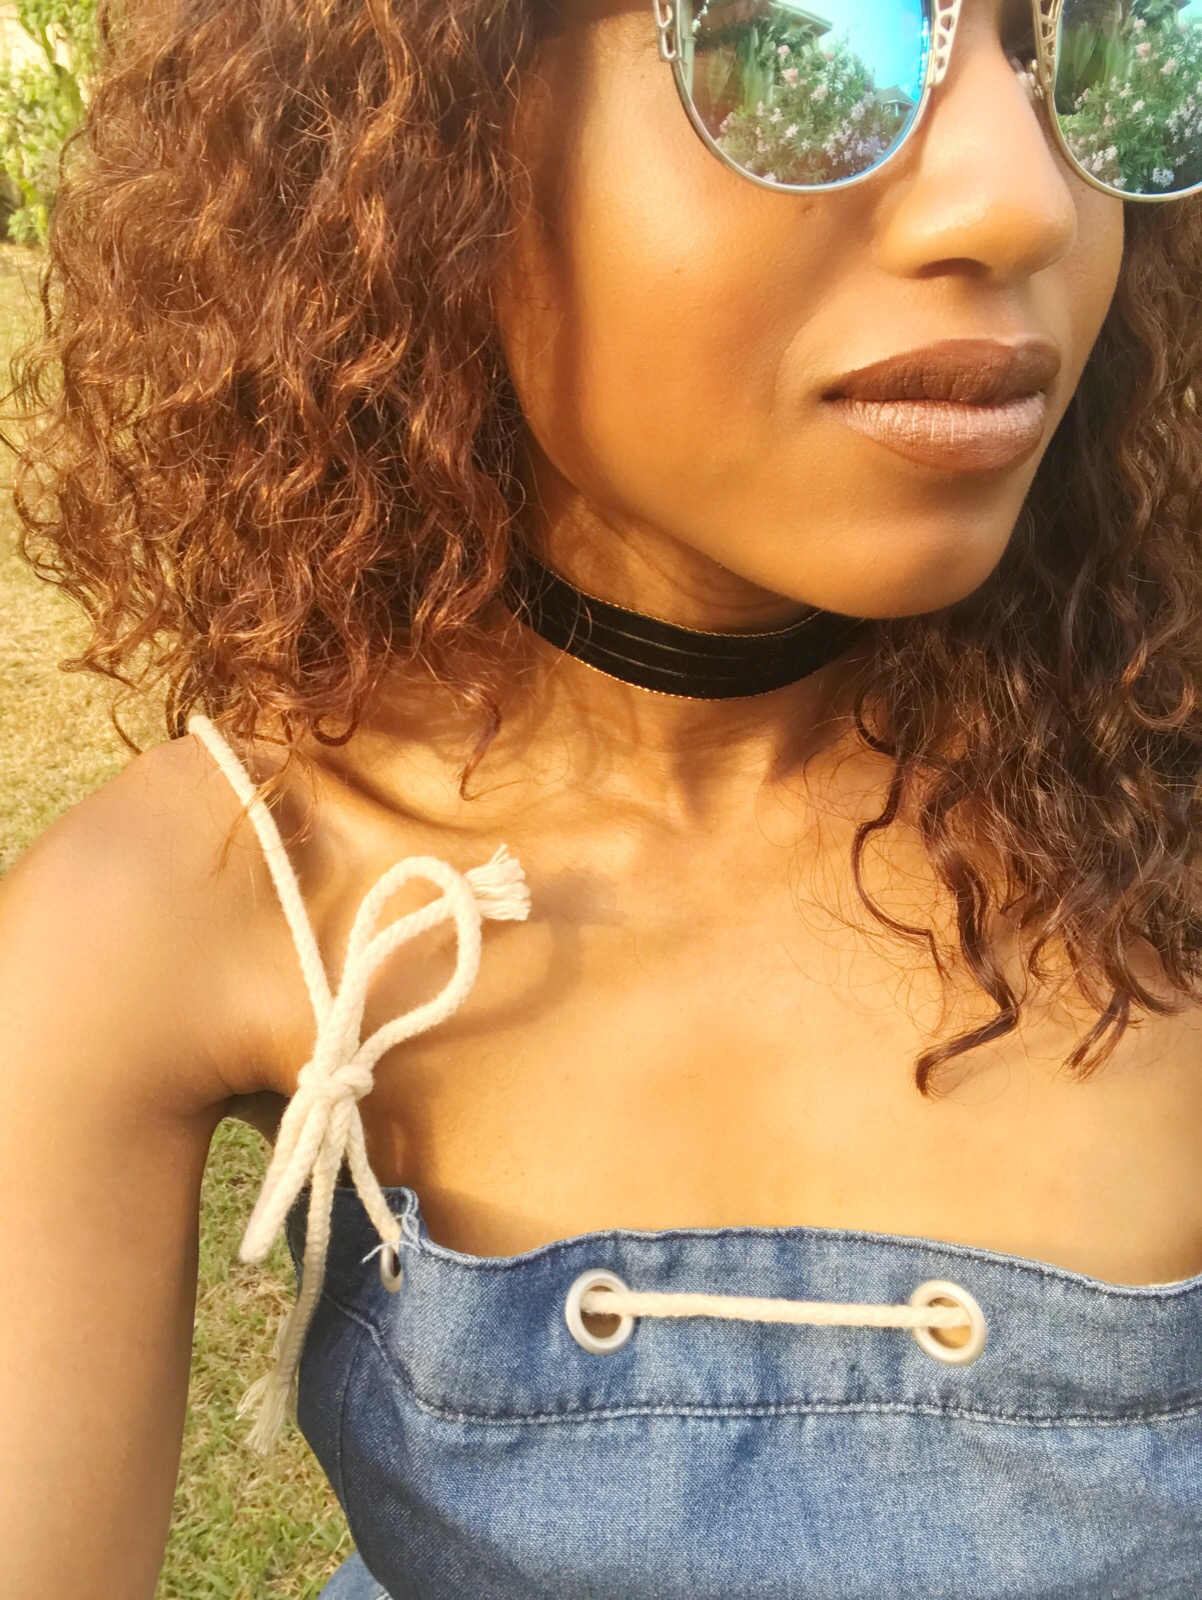
For the other side, hook on a couple of rings or add extender- either a pre-made 2-3 inch chain or you can hook together a few rings to make one. Double check that the ends are secure and that the choker will open and close properly. Lastly try it on! You can find these materials at Michaels or Hobby Lobby, both places also have frequent sales like 50% products and coupons for 40% a full priced item. I got this particular trimming from M&J Trimming in NYC. If crafting is not your thing, but want this choker, browse my shop.